Around August of last year, I started to get really tired of my sewing machine. I have a Singer Inspiration machine. I didn't do a lot of research before I got it and now I totally regret it. It is not a simple machine to maneuver and I'm constantly bringing out my handbook to figure out what the heck is wrong with it. So I took a break from sewing. Which sucks because I love sewing (I'm not all that good at it yet, but I still love it).
But the other day, I was feeling kind of down because I haven't sewed in almost a year. And even though just the thought of using my (awful) sewing machine makes me frustrated even before I take it out, I was desperate to sew. I decided what I wanted to make, gathered my materials, and took out the demonic machine.
Here's how to make a fabric garland:
What you'll need: Various kinds of fabric, scissors, sewing pins, sewing machine, colorful thread, & a hand-made stencil.
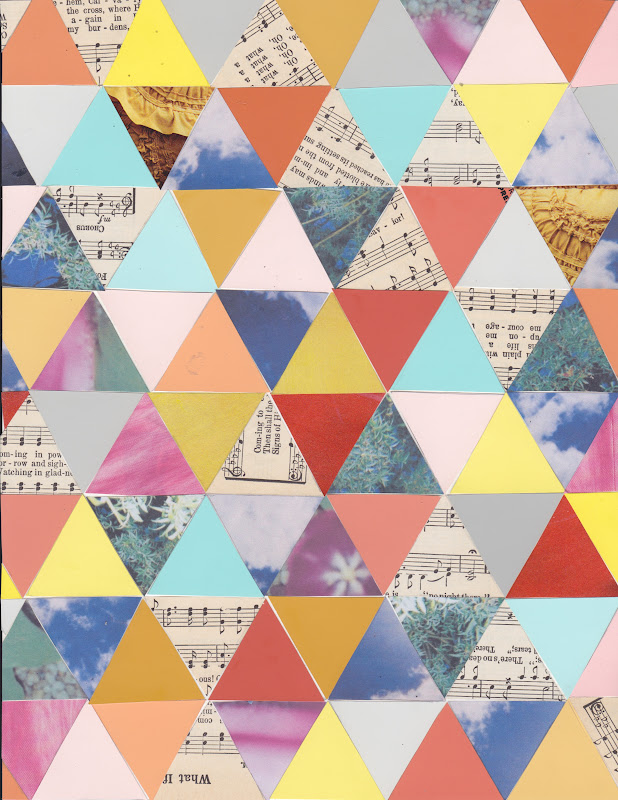
1). Pick the fabric you want. I chose some fabric that isn't matchy-matchy, but slightly coordinated.
 |
| If you're like me, you have to choose from a lot of fabric. |
 |
| Final Choices |
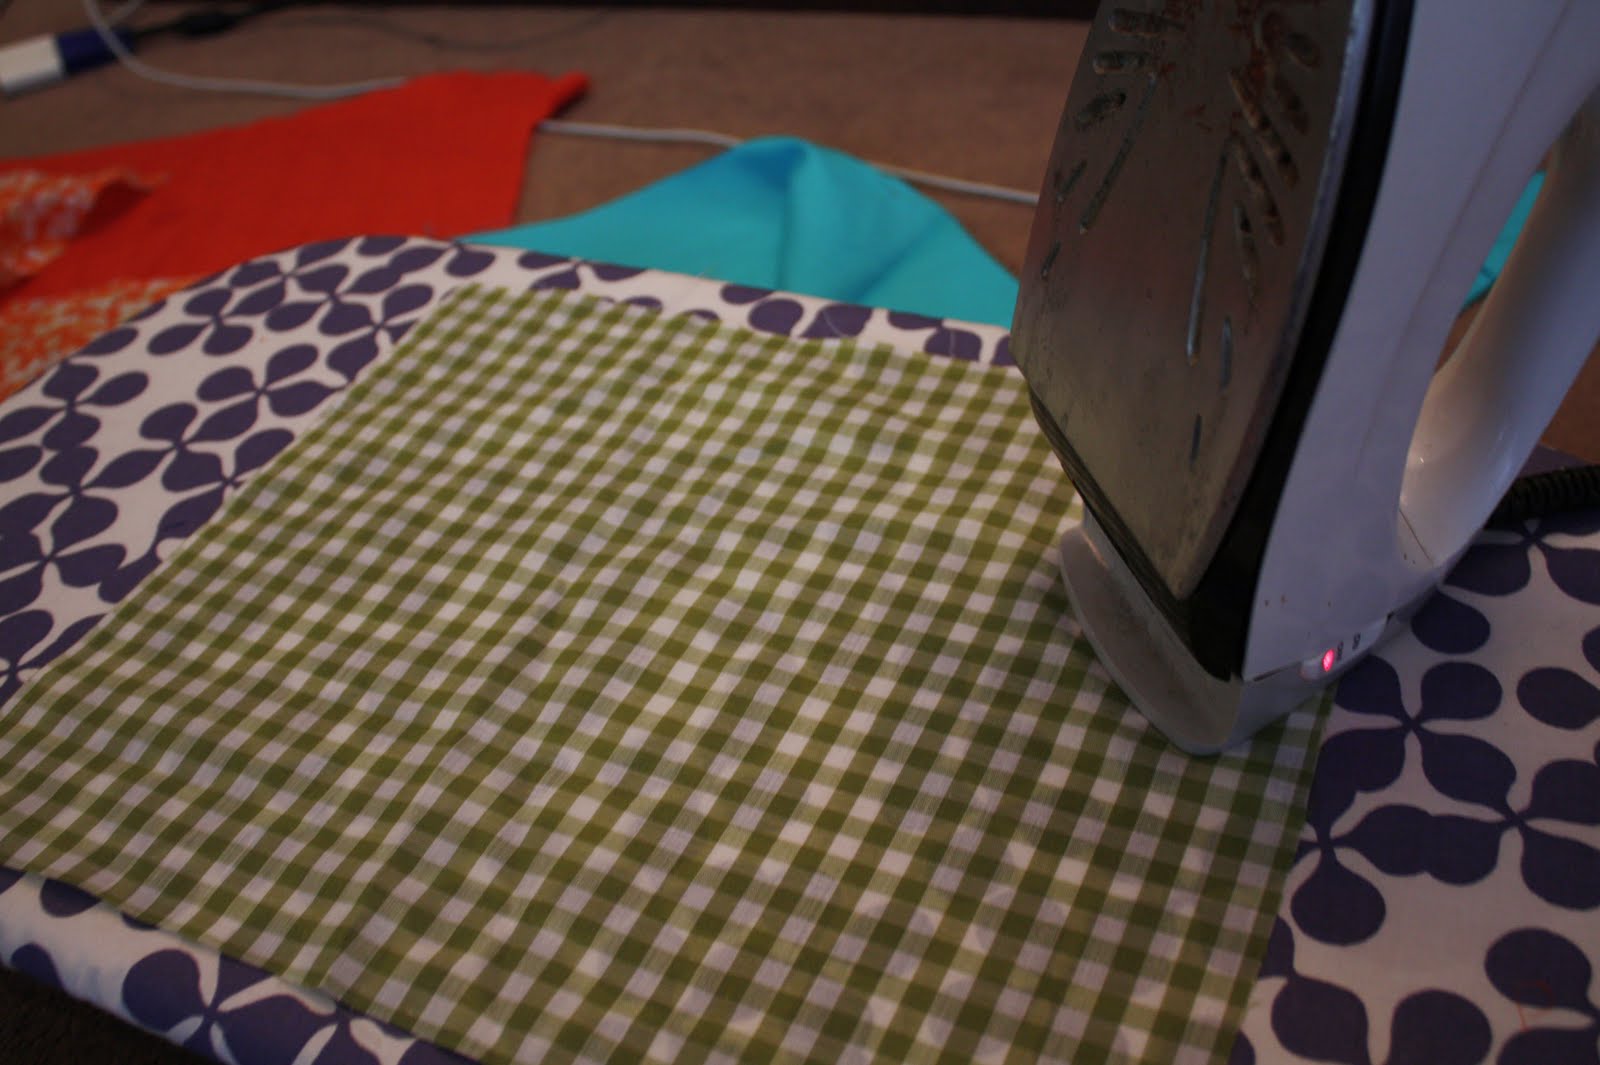
2). Iron all the fabric that you've chosen.
3). There are probably multiple other ways to do this, but I made a stencil so that each triangle is exactly the same size. So, cut a stencil from a heavy paper-product (I used part of a box). If your fabric has a print, face the printed side down and write on the non-printed side (that way, when you sew the triangles together, you won't see the marks!). Remember that for every 2 triangles you trace, you will actually get one finished triangle. So if you want 4 triangles of one color, trace 8. Start tracing!
4). Cut out all of your triangles. This is one of the longest steps, but you can do it! Then, if you want, pin the triangles together to make sewing them easier. That's what I did (but I forgot to take a picture of it). Be sure to pin the non-print sides of the fabric together, so that both sides of the triangle will be pretty! Don't worry if your triangles don't line up perfectly, you can fix it later!
 |
| Cut out Triangles |
5). Take out your (non-demonic) sewing machine, choose a thread (I chose a bright orange that will show up on the triangles to add character), and thread your bobbin/machine. Start sewing your triangles together!
6). Once the triangles are sewn together, if they don't line up, then take your scissors and trim 'em up!
 |
| My trimmed, finished triangles. |
7). Now you need to make the trim (I don't actually know what its called. But I'm referring to the string that holds all the triangles together). For this step, there are many possibilities. I chose to use long fabric that I already have, but you could purchase thick ribbon as well. So I just cut a long, thin piece of fabric from some awesome African fabric that Kels brought back for me from UG.
8). Then I ironed in both sides, so that it doesn't fray and so it looks nice. Next, fold the whole thin piece of fabric in half and ironed that.
 |
| Sides are folded in and ironed |
 |
| Then fold the whole strip down the middle and iron. |
9). Figure out the order of which you want the triangles. Mine are in random order, but you can do a pattern if you want. Then stick the triangles individually in the center of the trim and pin them there, one at a time. Pins are required in this step, because the triangles won't stay in the center of the trim otherwise. Space them out as you like. Mine are kind of close together.
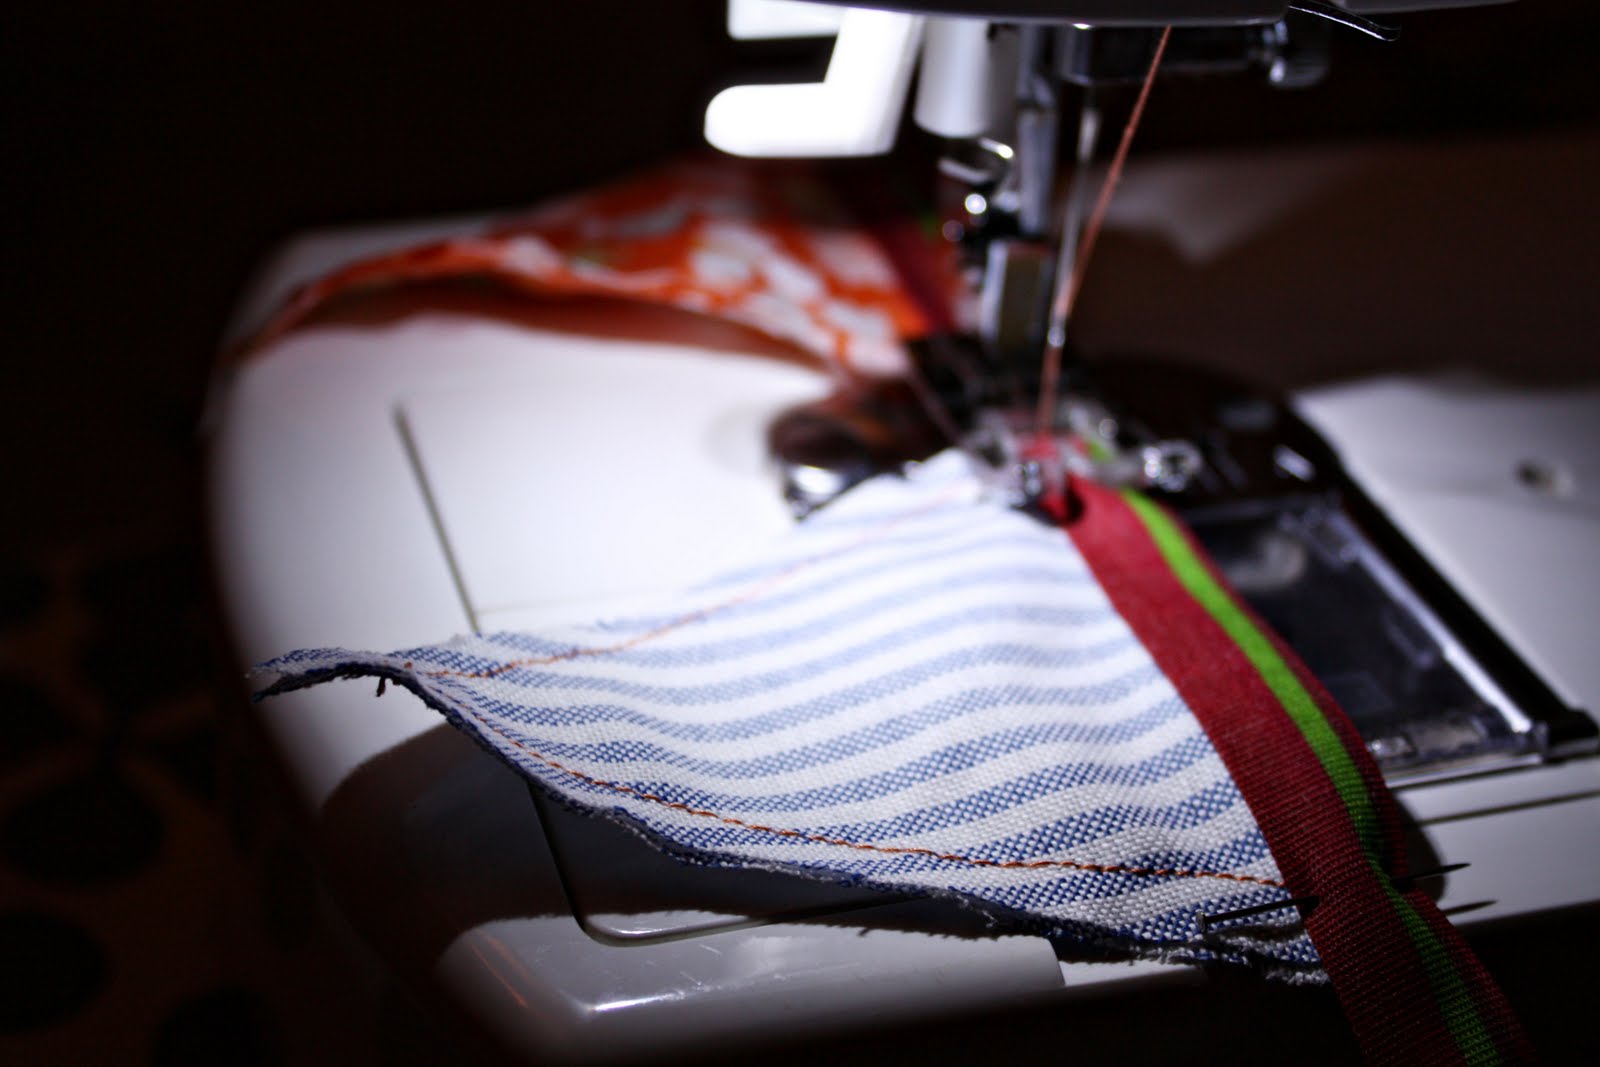
10). Sew it all together.
 |
| Just keep sewing, just keep sewing... |
 |
| The finished product! |
Voila! You have garland! Tell me if you make any--I'd love to see the final product!
-Sar